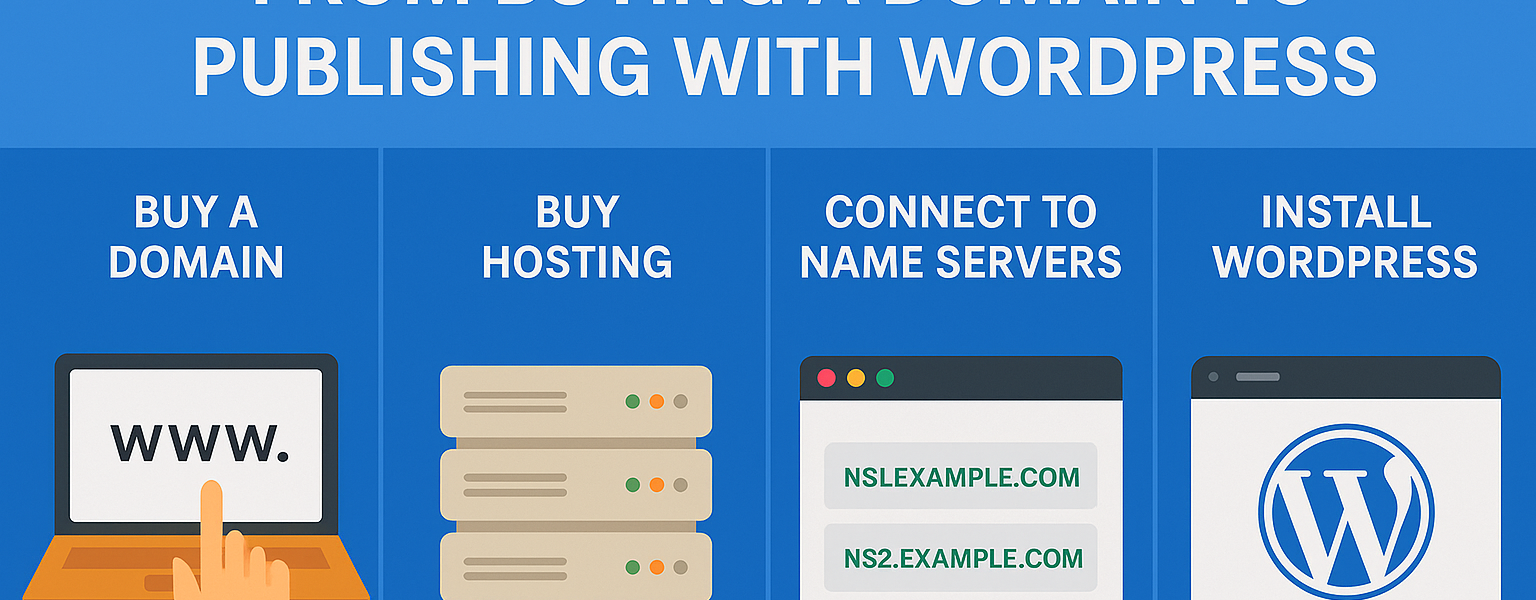
In today’s digital age, launching a website is easier and more affordable than ever. Whether you’re starting a blog, building a portfolio, or establishing an online business, having a web presence begins with a few key steps: purchasing a domain, buying hosting, connecting the two using name servers, installing WordPress, and finally publishing your first post.
This article will guide you through each of these steps in a simple, beginner-friendly manner.
Step 1: Buying a Domain Name
Your domain name is your website’s address on the internet (e.g., yourbrandname.com). It should be easy to remember, relevant to your purpose, and ideally short.
How to Buy a Domain:
- Choose a Domain Registrar: Select a trusted domain provider like AmbitionHost, GoDaddy, Namecheap, Google Domains, or others.
- Search for Availability: Use their domain search tool to check if your desired name is available. If not, try different variations or extensions (.com, .in, .net, etc.).
- Select and Add to Cart: Once available, add it to your cart. Most providers also offer privacy protection to hide your personal details from the public WHOIS database.
- Create an Account & Checkout: Sign up on the registrar’s website, fill in your details, and make the payment using your preferred method (credit card, UPI, net banking, etc.).
- Access Domain Dashboard: After purchase, you’ll receive access to your domain control panel, where you can manage DNS settings, name servers, renewals, and more.
Step 2: Buying a Web Hosting Plan
Web hosting is where your website’s files and data are stored. Hosting ensures your site is accessible 24/7 to visitors worldwide.
Steps to Buy Hosting:
- Choose a Hosting Provider: Pick a reliable hosting company like AmbitionHost, Verpex, etc. Choose based on your target audience location, uptime guarantee, and support.
- Select a Hosting Type:
- Shared Hosting (best for beginners)
- Cloud Hosting
- VPS Hosting
- Dedicated Hosting
- Pick a Plan: Based on your needs and budget, select a hosting plan. For beginners, shared or cloud hosting is enough.
- Register or Connect Your Domain: You can register a new domain or connect an existing one during hosting signup.
- Complete Checkout: Enter your details, choose your billing cycle (monthly/yearly), and complete the payment.
Once done, you’ll receive a welcome email with your hosting login details, cPanel access, name servers, and other essential information.
Step 3: Connecting Domain with Hosting via Name Servers
Now that you have a domain and hosting, you need to link them so visitors accessing your domain land on your hosted website.
How to Connect Using Name Servers:
- Get Name Servers from Host: You’ll find something like:
ns1.yourhost.comns2.yourhost.com
- Login to Domain Provider: Access your domain registrar’s dashboard.
- Go to DNS or Name Server Settings.
- Replace Existing Name Servers with the ones provided by your host.
- Save Changes: DNS changes take time — usually 30 minutes to 24 hours to fully propagate.
Now your domain is connected to your hosting account.
Step 4: Installing WordPress via cPanel (Softaculous)
WordPress is the most popular website-building tool, powering over 40% of websites worldwide. It’s user-friendly, customizable, and perfect for blogs, business sites, portfolios, and more.
Steps to Install WordPress Using Softaculous:
- Login to cPanel: Use the credentials from your hosting provider to access cPanel (
yourdomain.com/cpanel). - Scroll to ‘Softaculous Apps Installer’ or ‘WordPress’ Section.
- Click on WordPress: This opens the WordPress installer.
- Click ‘Install Now’.
- Software Setup:
- Choose the protocol (
https://if you have SSL installed) - Select your domain from the dropdown.
- Leave the “Directory” field empty if you want to install it on the main domain (e.g.,
yourdomain.cominstead ofyourdomain.com/wp).
- Choose the protocol (
- Site Settings:
- Site Name: Your website’s name.
- Site Description: Short tagline (can be changed later).
- Admin Account Setup:
- Admin Username: Avoid using ‘admin’ for security reasons.
- Admin Password: Use a strong password.
- Admin Email: Add your working email address.
- Select Theme (optional): Choose a default WordPress theme or install one later.
- Click ‘Install’: It will take a few seconds.
- Installation Complete: You’ll get a success message with two links:
- Admin URL:
yourdomain.com/wp-admin - Site URL:
yourdomain.com
Login using the admin username and password you just created.
Step 5: Publishing Your First WordPress Post
Now comes the exciting part — creating and publishing your first blog post or article.
How to Publish a Post:
- Login to WordPress Dashboard: Visit
yourdomain.com/wp-adminand log in. - Navigate to ‘Posts’ > ‘Add New’.
- Enter Post Title: Example – “Welcome to My New Website”
- Write Your Content: Use the block editor to add headings, paragraphs, images, videos, etc.
- Set a Featured Image (optional): On the right sidebar, you can upload a featured image.
- Add Categories & Tags: Helps organize your content for readers and search engines.
- Click ‘Publish’: Your post is now live on your website.
You can view it by going to yourdomain.com or by clicking “View Post.”
Final Touches
Once your website is live and you’ve published your first post, here are some extra steps to enhance your website:
- Install a Theme: Go to Appearance > Themes to install free or premium themes for a professional look.
- Install Plugins: Essential plugins include:
- Yoast SEO (for SEO)
- WPForms (contact forms)
- Elementor (for drag-and-drop page design)
- UpdraftPlus (for backups)
- Create Important Pages:
- About Us
- Contact Us
- Privacy Policy
- Terms & Conditions
- Secure Your Site: Install an SSL certificate (most hosts offer it free) and enable security plugins like Wordfence or iThemes Security.
- Connect Google Analytics & Search Console: Track your visitors and improve your SEO performance.
Conclusion
Launching a website isn’t as complex as it seems. With a clear domain name, reliable hosting, and the power of WordPress, you can build your site from scratch in just a few hours. Following the steps above, you’ll not only have your site online, but you’ll also be equipped to create and manage content confidently.
So go ahead — bring your idea to life and share it with the world. Your digital journey begins now!